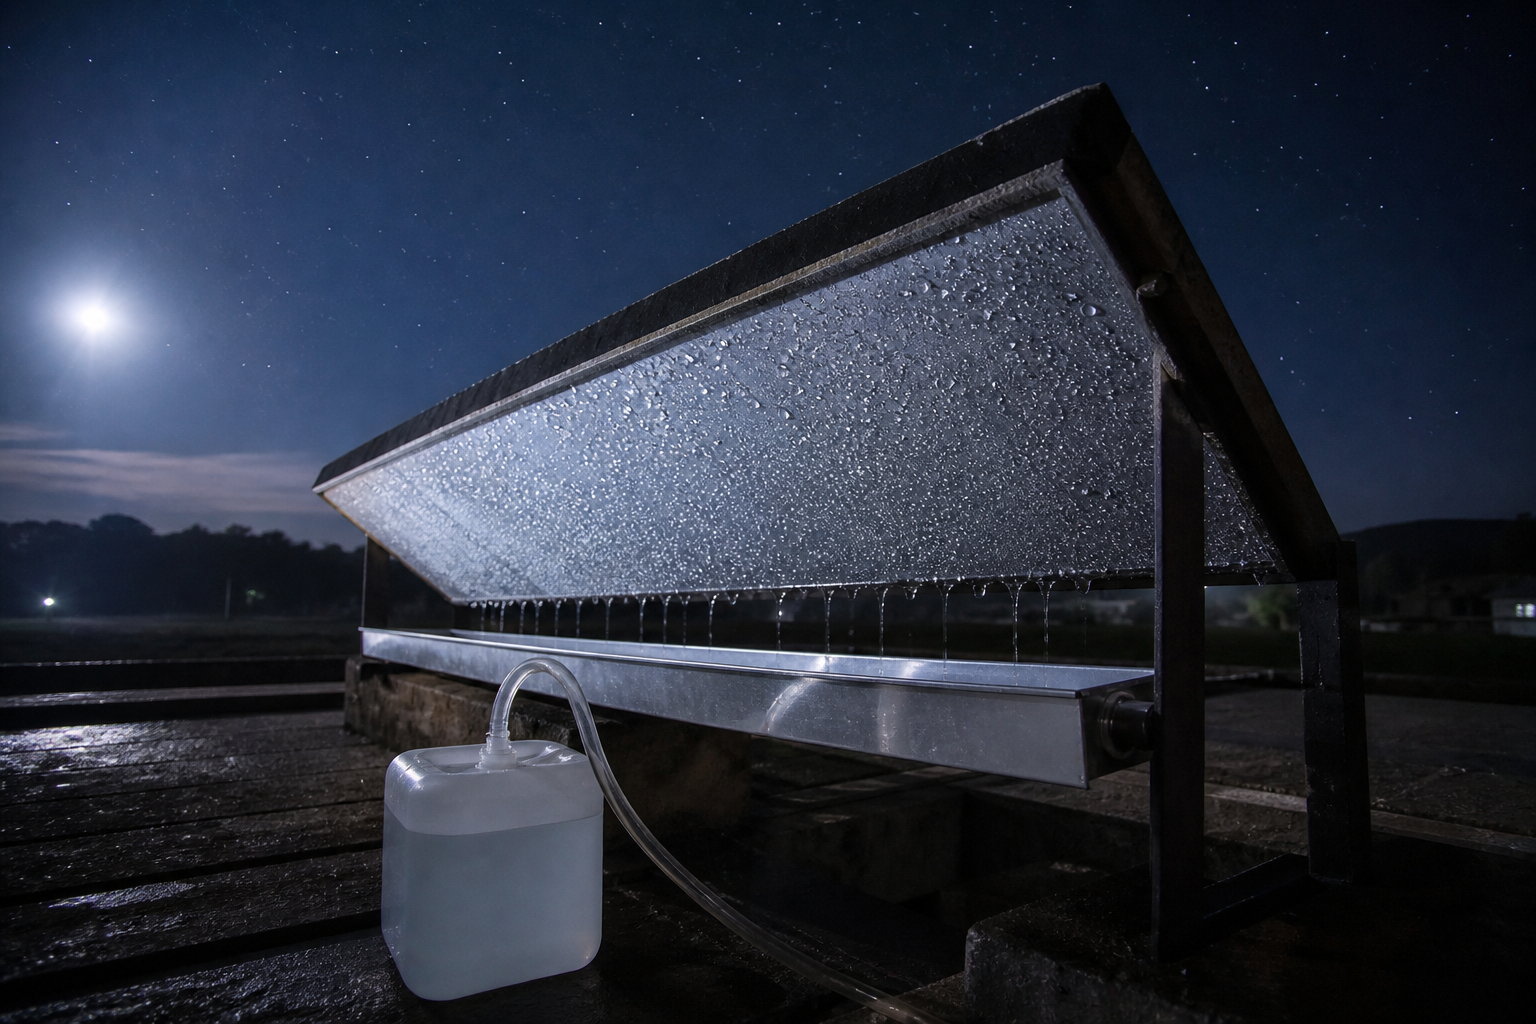
DIY Night Radiative Condenser
Build a sky-facing panel that cools overnight and drips condensate into a tank.
Time
3–5 hours
Difficulty
Intermediate
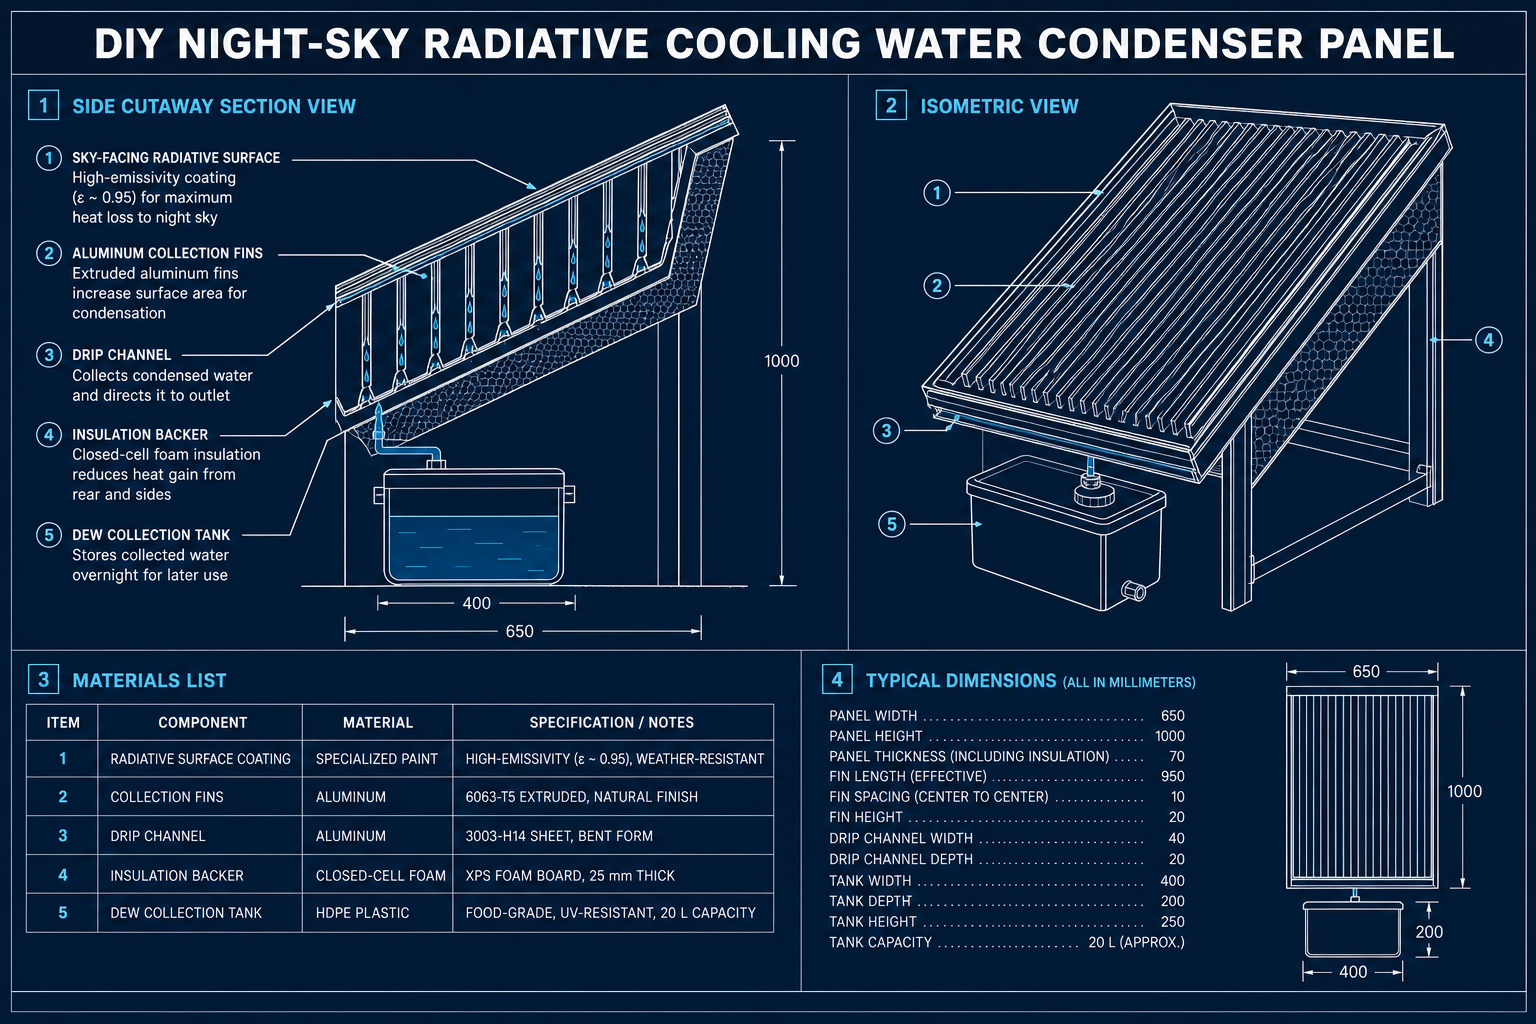
Full blueprint
Scroll to zoom · drag to pan · pinch with two fingers on mobile / mini · or use In / Out
Tools
- Drill / screwdriver
- Utility knife
- Metal snips (if cutting fins)
- Level
Safety
- Smooth sharp metal edges
- Secure the panel against wind uplift
- Do not drink first-night runoff until the system is rinsed
How to put it together
- 1
Build the face panel
Make a ~1×1 m sky-facing sheet (aluminum or white radiative film on a rigid board). This faces open sky — not under a roof.
- 2
Add insulation behind
Glue foam/XPS insulation to the back so cold stays on the sky face, not lost into the ground.
- 3
Attach condensation fins
Mount aluminum or copper fins under / on the cold face so dew has surface area to form and drip.
- 4
Tilt slightly
Angle the assembly a few degrees so droplets run to one edge. Avoid facing warm walls that radiate heat back.
- 5
Install drip channel
Put a clean channel under the drip edge. Connect tubing to a 5–10 L collection tank with lid.
- 6
Night test
On a clear night, check that the face feels colder than air and that droplets form. Cloudy nights yield little — that is normal.
- 7
Rinse & log
Rinse fins after dusty weather. Note liters per clear night to learn your local yield.
Tips
- Open sky view is mandatory — trees/buildings kill radiative cooling
- Deserts with clear nights outperform humid cloudy coasts
- Paint/film choice matters: high IR emissivity on the sky face